Arduino Basics
Wire it, code it, play with it.
Your child learns how real electronics work by building a new gadget every day: blinking LEDs, a reaction-time game, and a sweeping radar. Day 3 ends with a team project and a demo for parents.
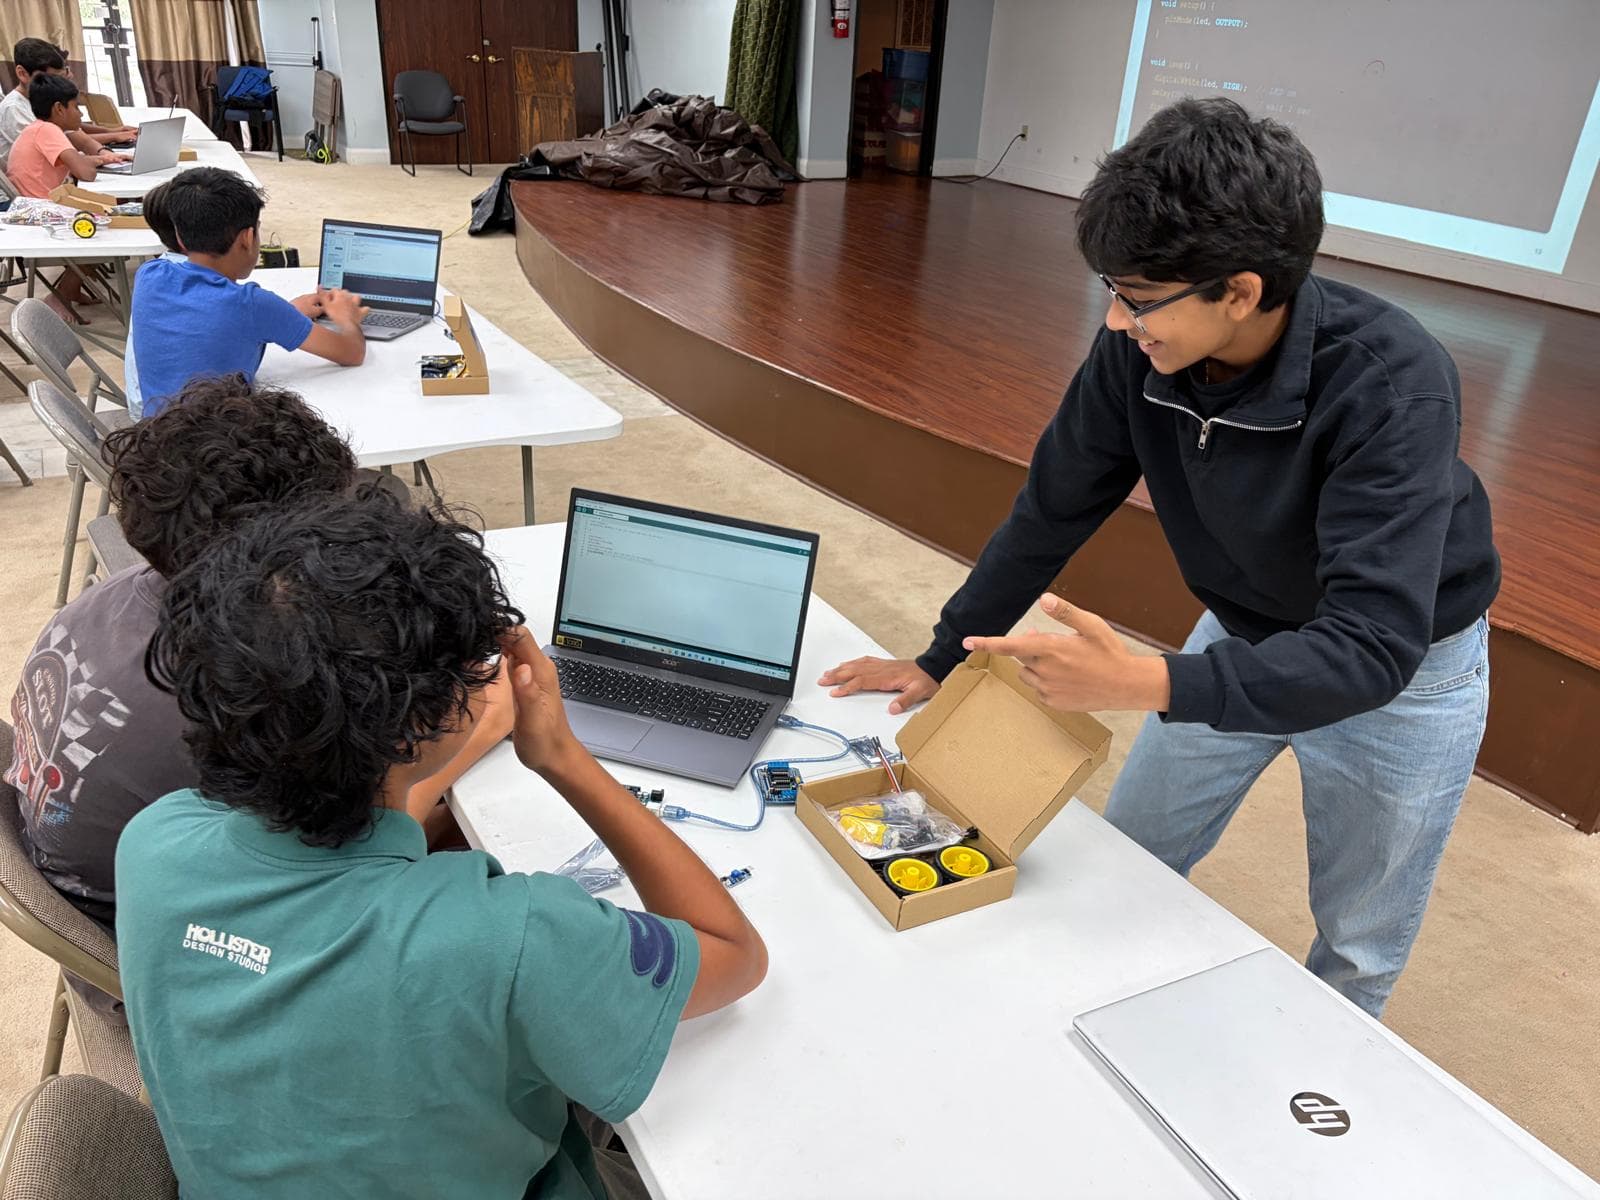
Day by day
What your child will build
Day 1
LEDs, buttons, and a reaction-time game
Day 2
Distance sensor and servos, then a sweeping radar
Day 3
Team mini project and a demo for parents
Included
What's included
- 3 days of hands-on instruction (9 hours)
- Small group, max 10 students
- All code and project files to keep
- Parent demo on Day 3
Arduino kit required (yours to keep)
Purchase one from our team for $30 when you register, or purchase your own Arduino starter kit on Amazon before camp (usually a bit more expensive). One kit covers both Thanksgiving camps.
Bring a Windows or Mac laptop.
Chromebooks and iPads will not work because they can't run the Arduino and Python software we use. School-issued laptops often block installs, so check before camp.
Before Day 1 checklist
- A Windows or Mac laptop with its charger. Chromebooks and iPads will NOT work.
- Install Arduino IDE 2 (free) from arduino.cc/en/software before Day 1.
- Make sure you can install software on the laptop (school-issued laptops often block this).
- If the laptop only has USB-C ports, bring a USB-C to USB-A adapter.
- Arduino starter kit (purchased from our team, or your own from Amazon).
- Water bottle and a snack.
Common questions about the Arduino Basics
Who are the Arduino Basics for?
When are the Arduino Basics?
How much do the Arduino Basics cost?
What will my child build in the Arduino Basics?
Where are the Arduino Basics held?
More answers: how to choose a kids robotics camp.